User guide / accessories
Bag Try-On Manual
Use this guide to upload a ready bag model or create one from photos, then prepare the final bag try-on for mobile preview and sharing.
Start here
What is a 3D file?
A 3D file is the digital version of your bag, including its shape, scale, and surface details.
Why use AR try-on?
AR bag try-on helps shoppers understand size, proportions, and how the bag sits in hand before they buy.
Recommended limits
For smooth performance, keep models around 15K polygons, use up to 2K textures, and aim for up to 15 MB.
Option 1. Upload your 3D bag model
Use this path when you already have a prepared bag model and want to move directly into the accessory editor.
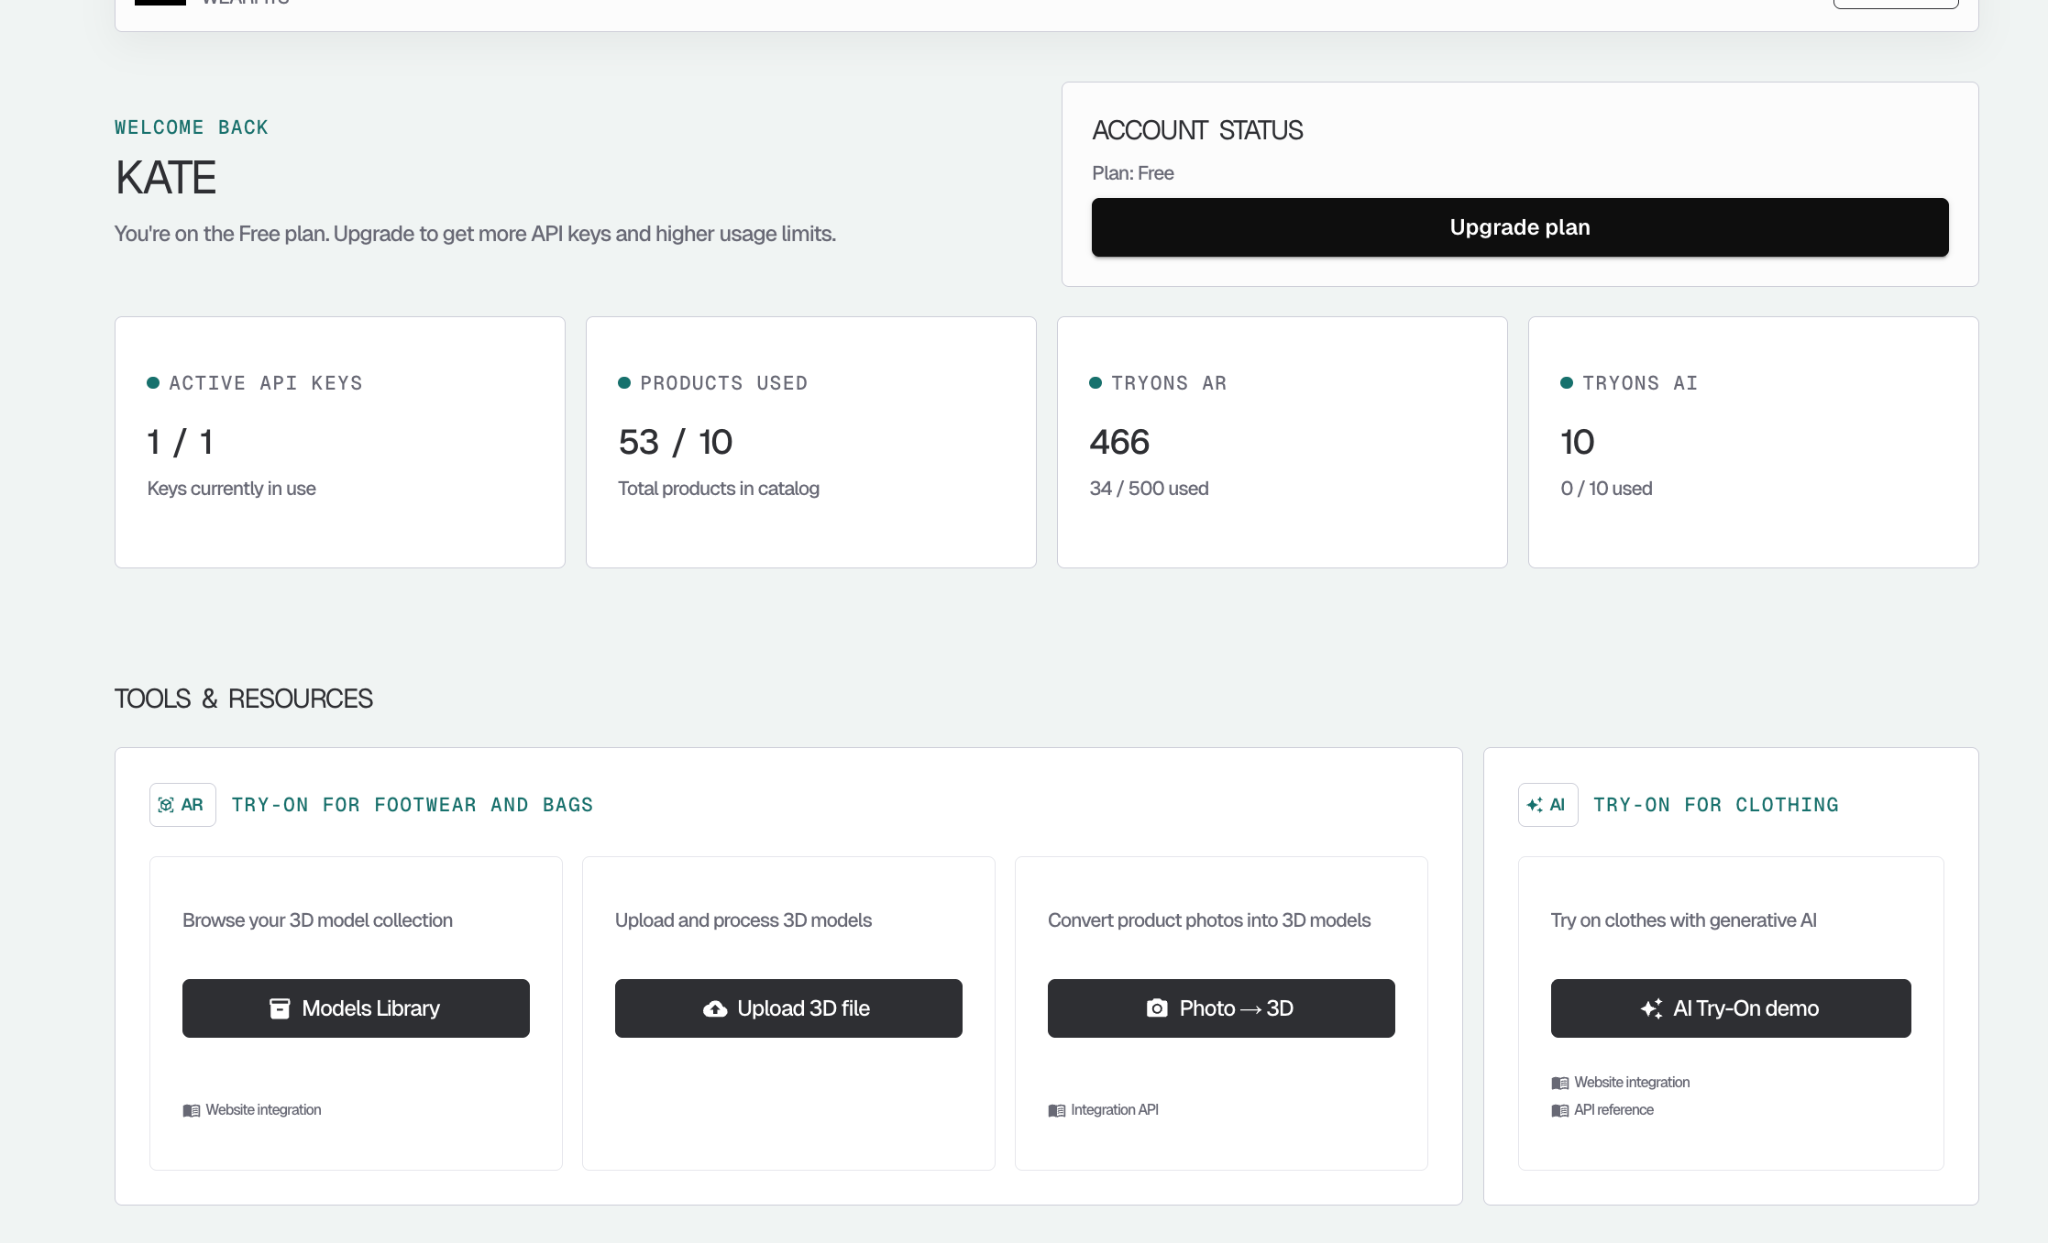
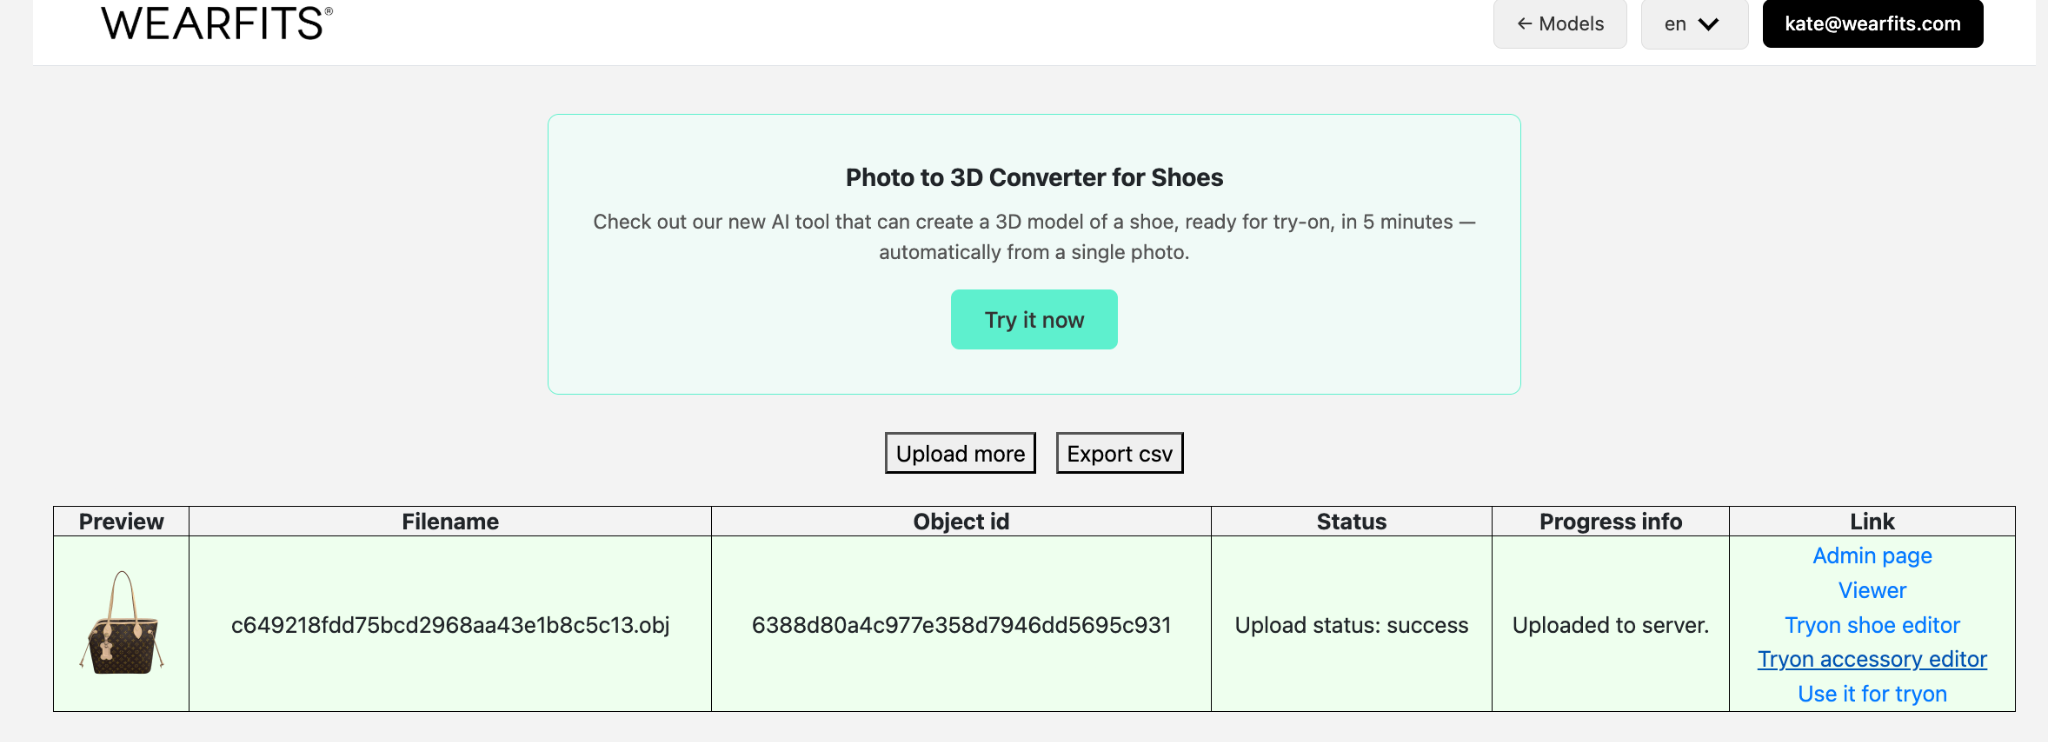
Open the upload tool
From the dashboard, click “Upload 3D file”.
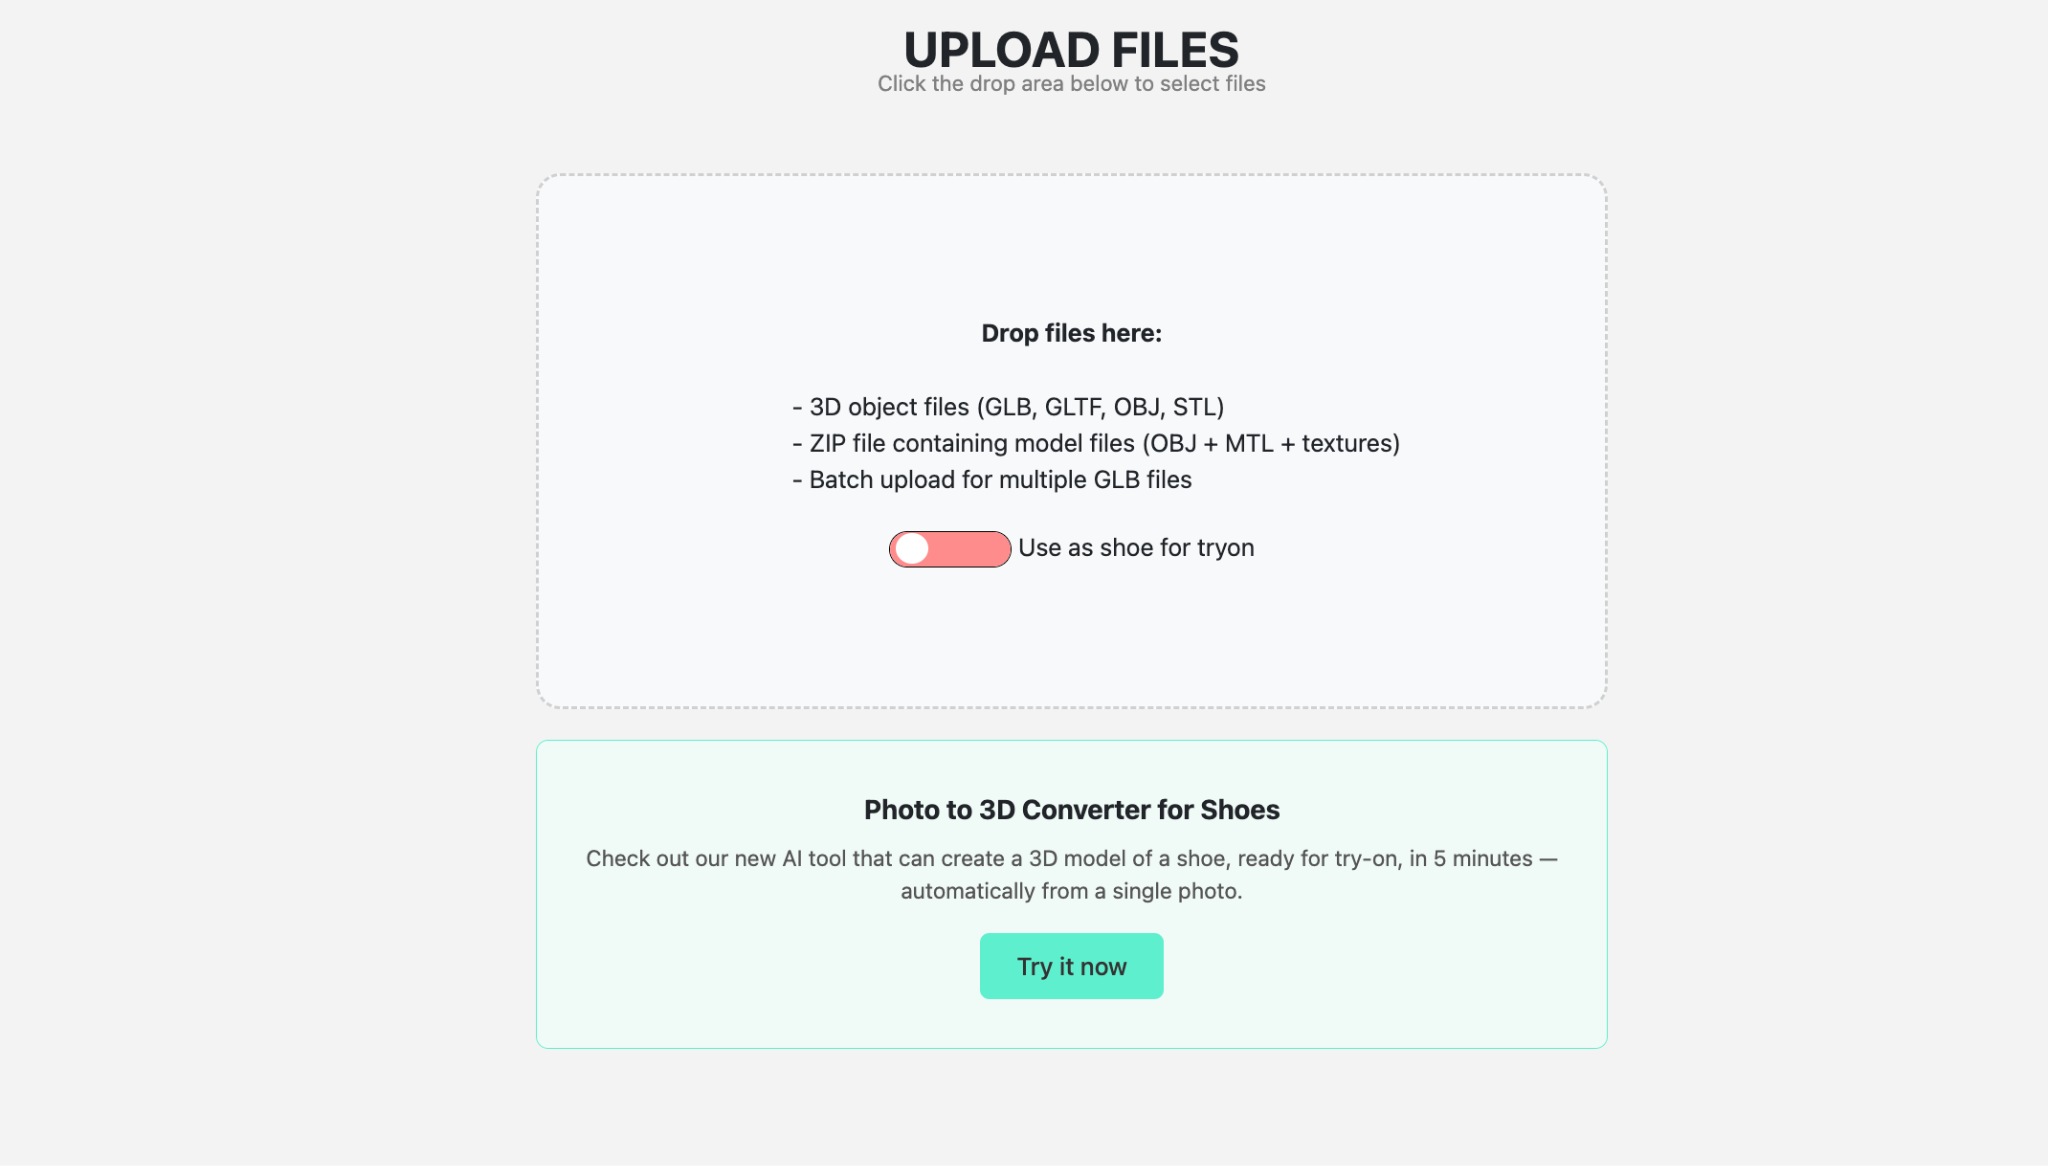
Add your file
Drag and drop the file or choose it from your computer. For the best result, keep the model in real-life scale.
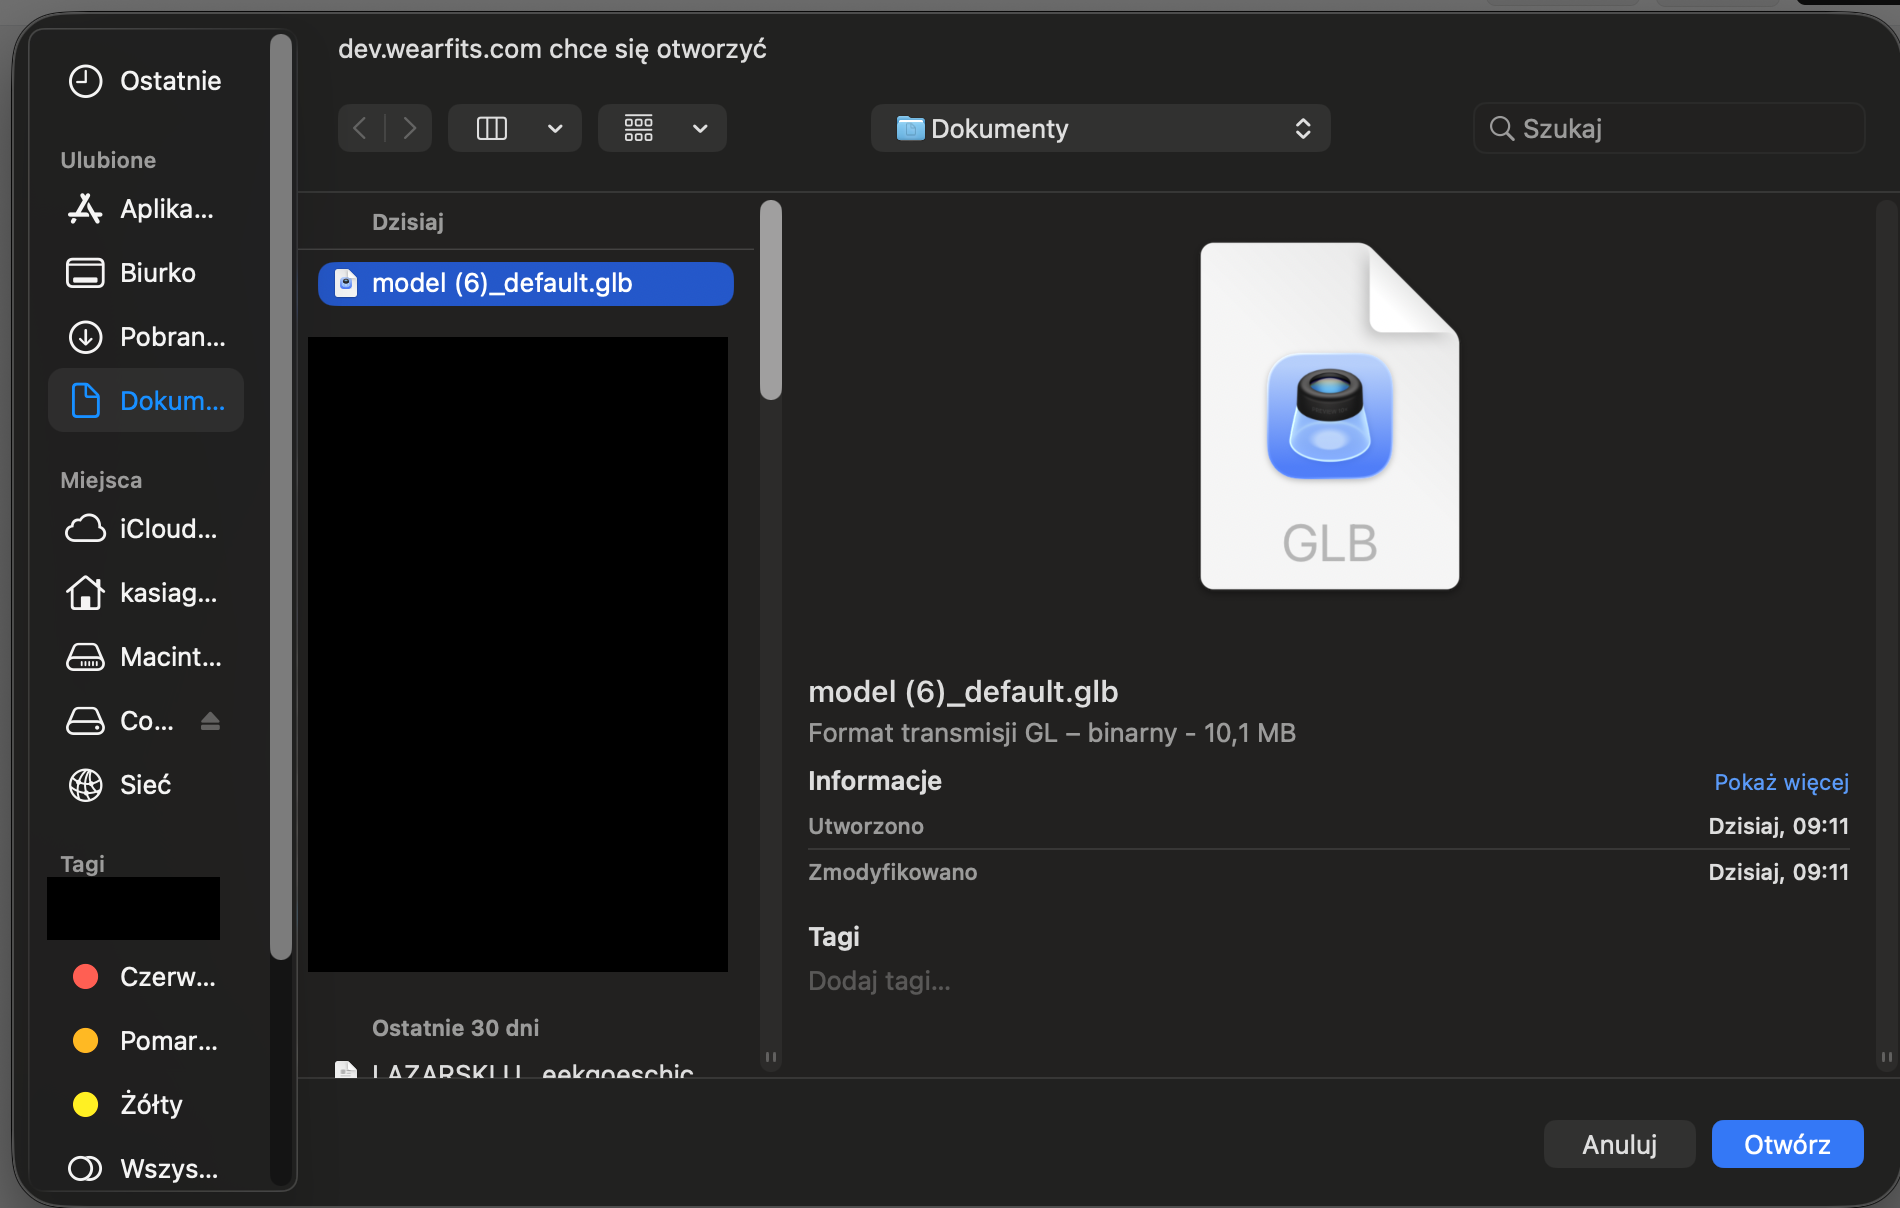
Select the file and confirm
Choose the file you want to upload and click “Open”.
Open the accessory editor
When the upload is complete, open “Tryon accessory editor” to continue the bag setup.
Option 2. Create a bag model from photos
Use this path when you do not have a ready 3D bag model. The photo-to-3D flow can create one from product photography.
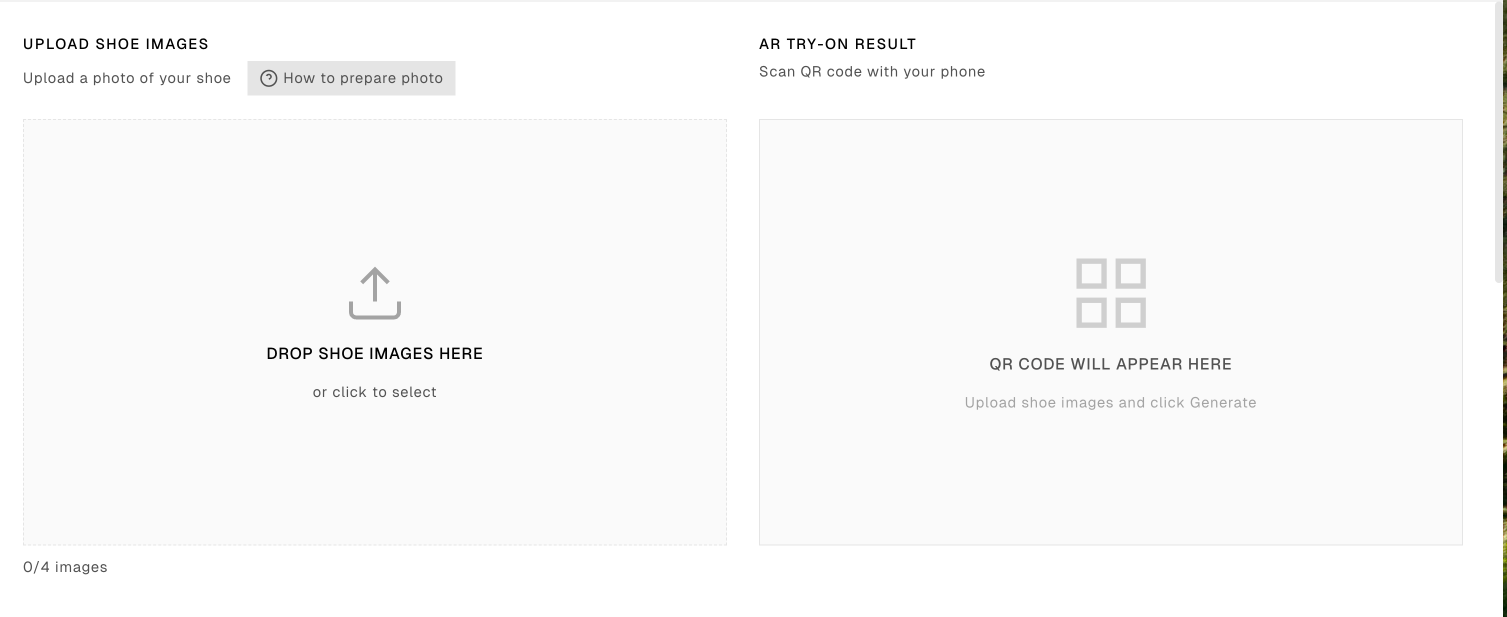
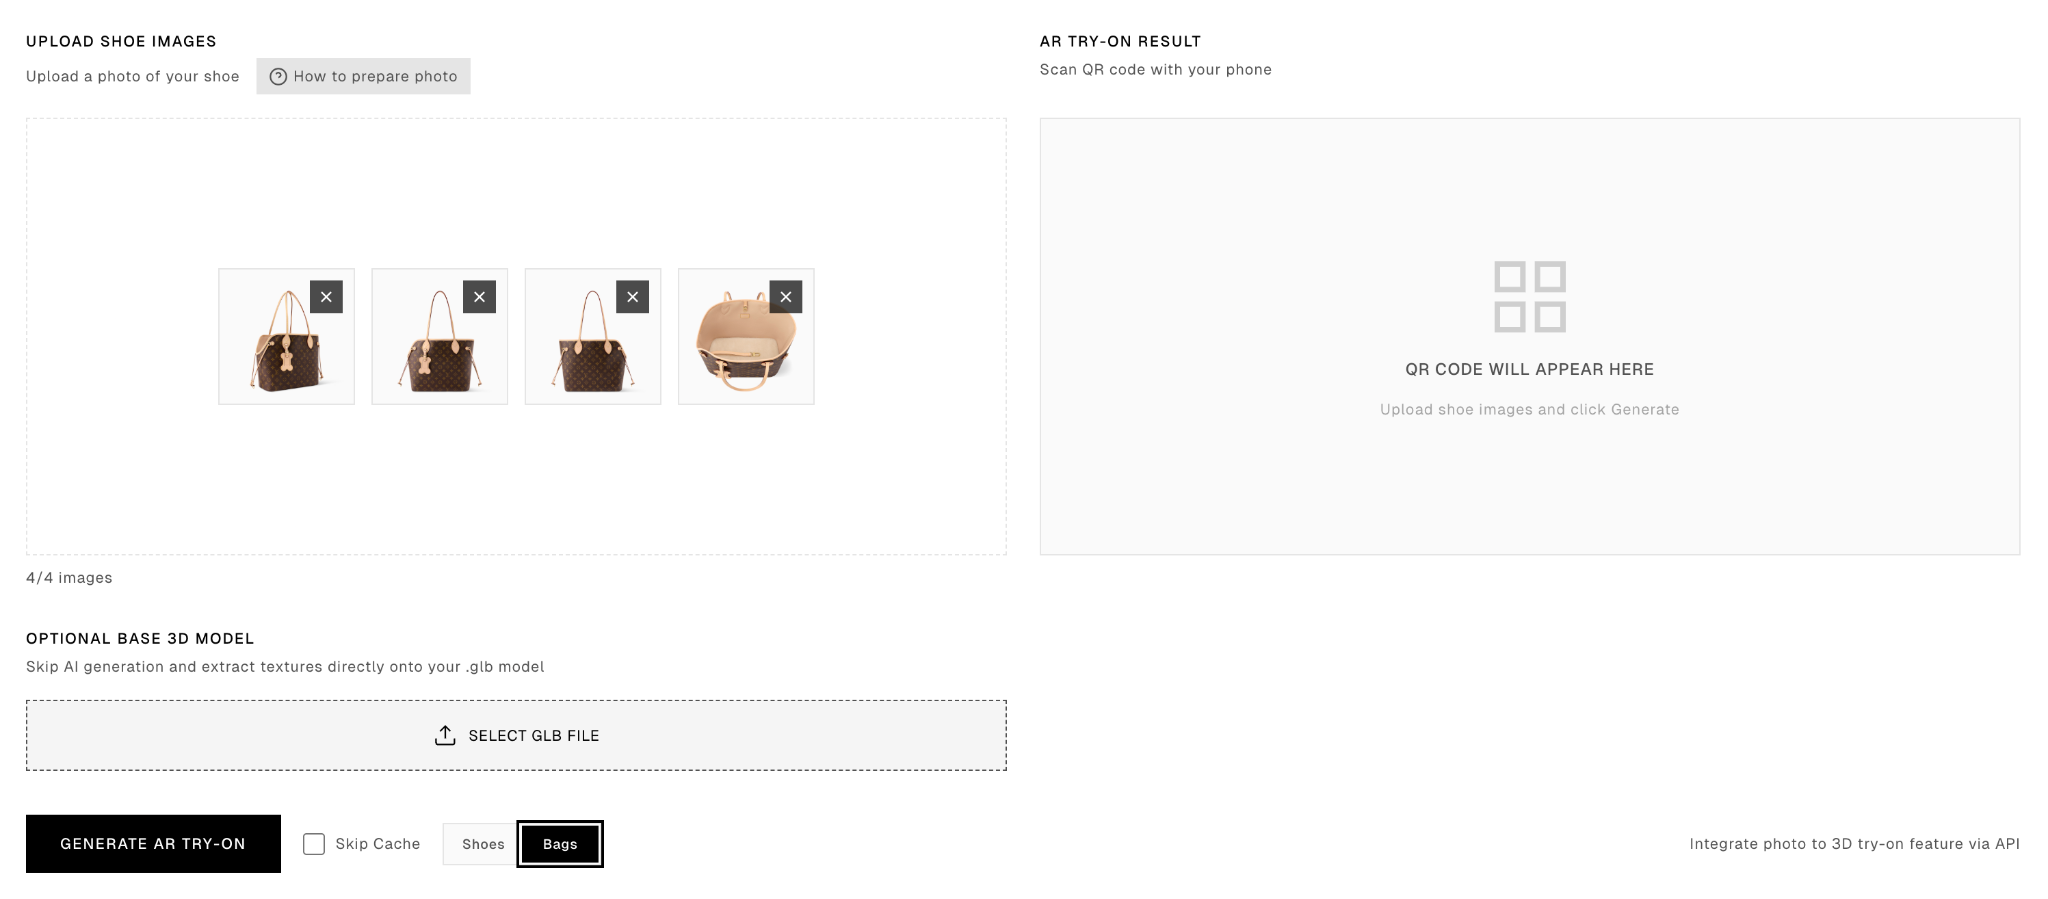
Upload four product photos
Add four clear photos from different angles and choose “Bags”. Plain background images usually work best.
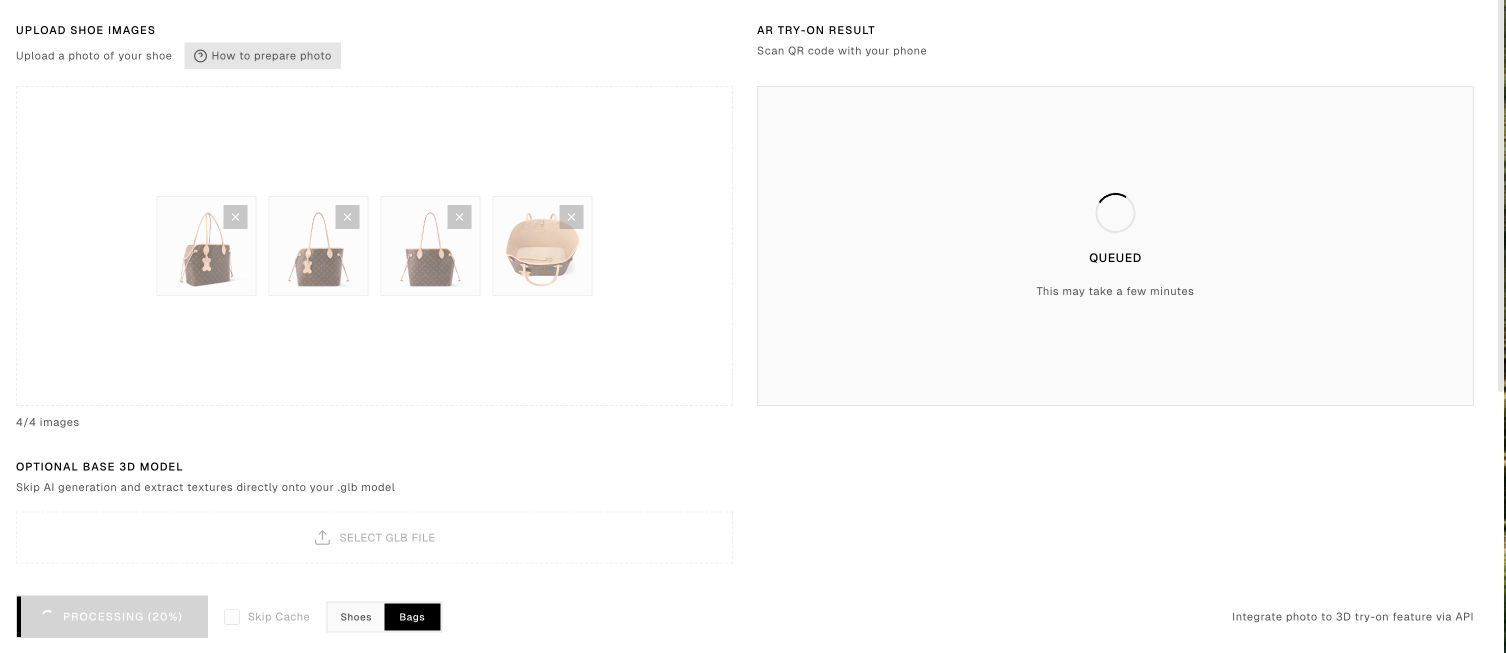
Add the bag to the final try-on
Once the model is ready, use the accessory editor to place it naturally relative to the avatar’s hand.
Open the bag try-on setup
On the item page, click “Use this 3D object as bag in virtual try-on”.

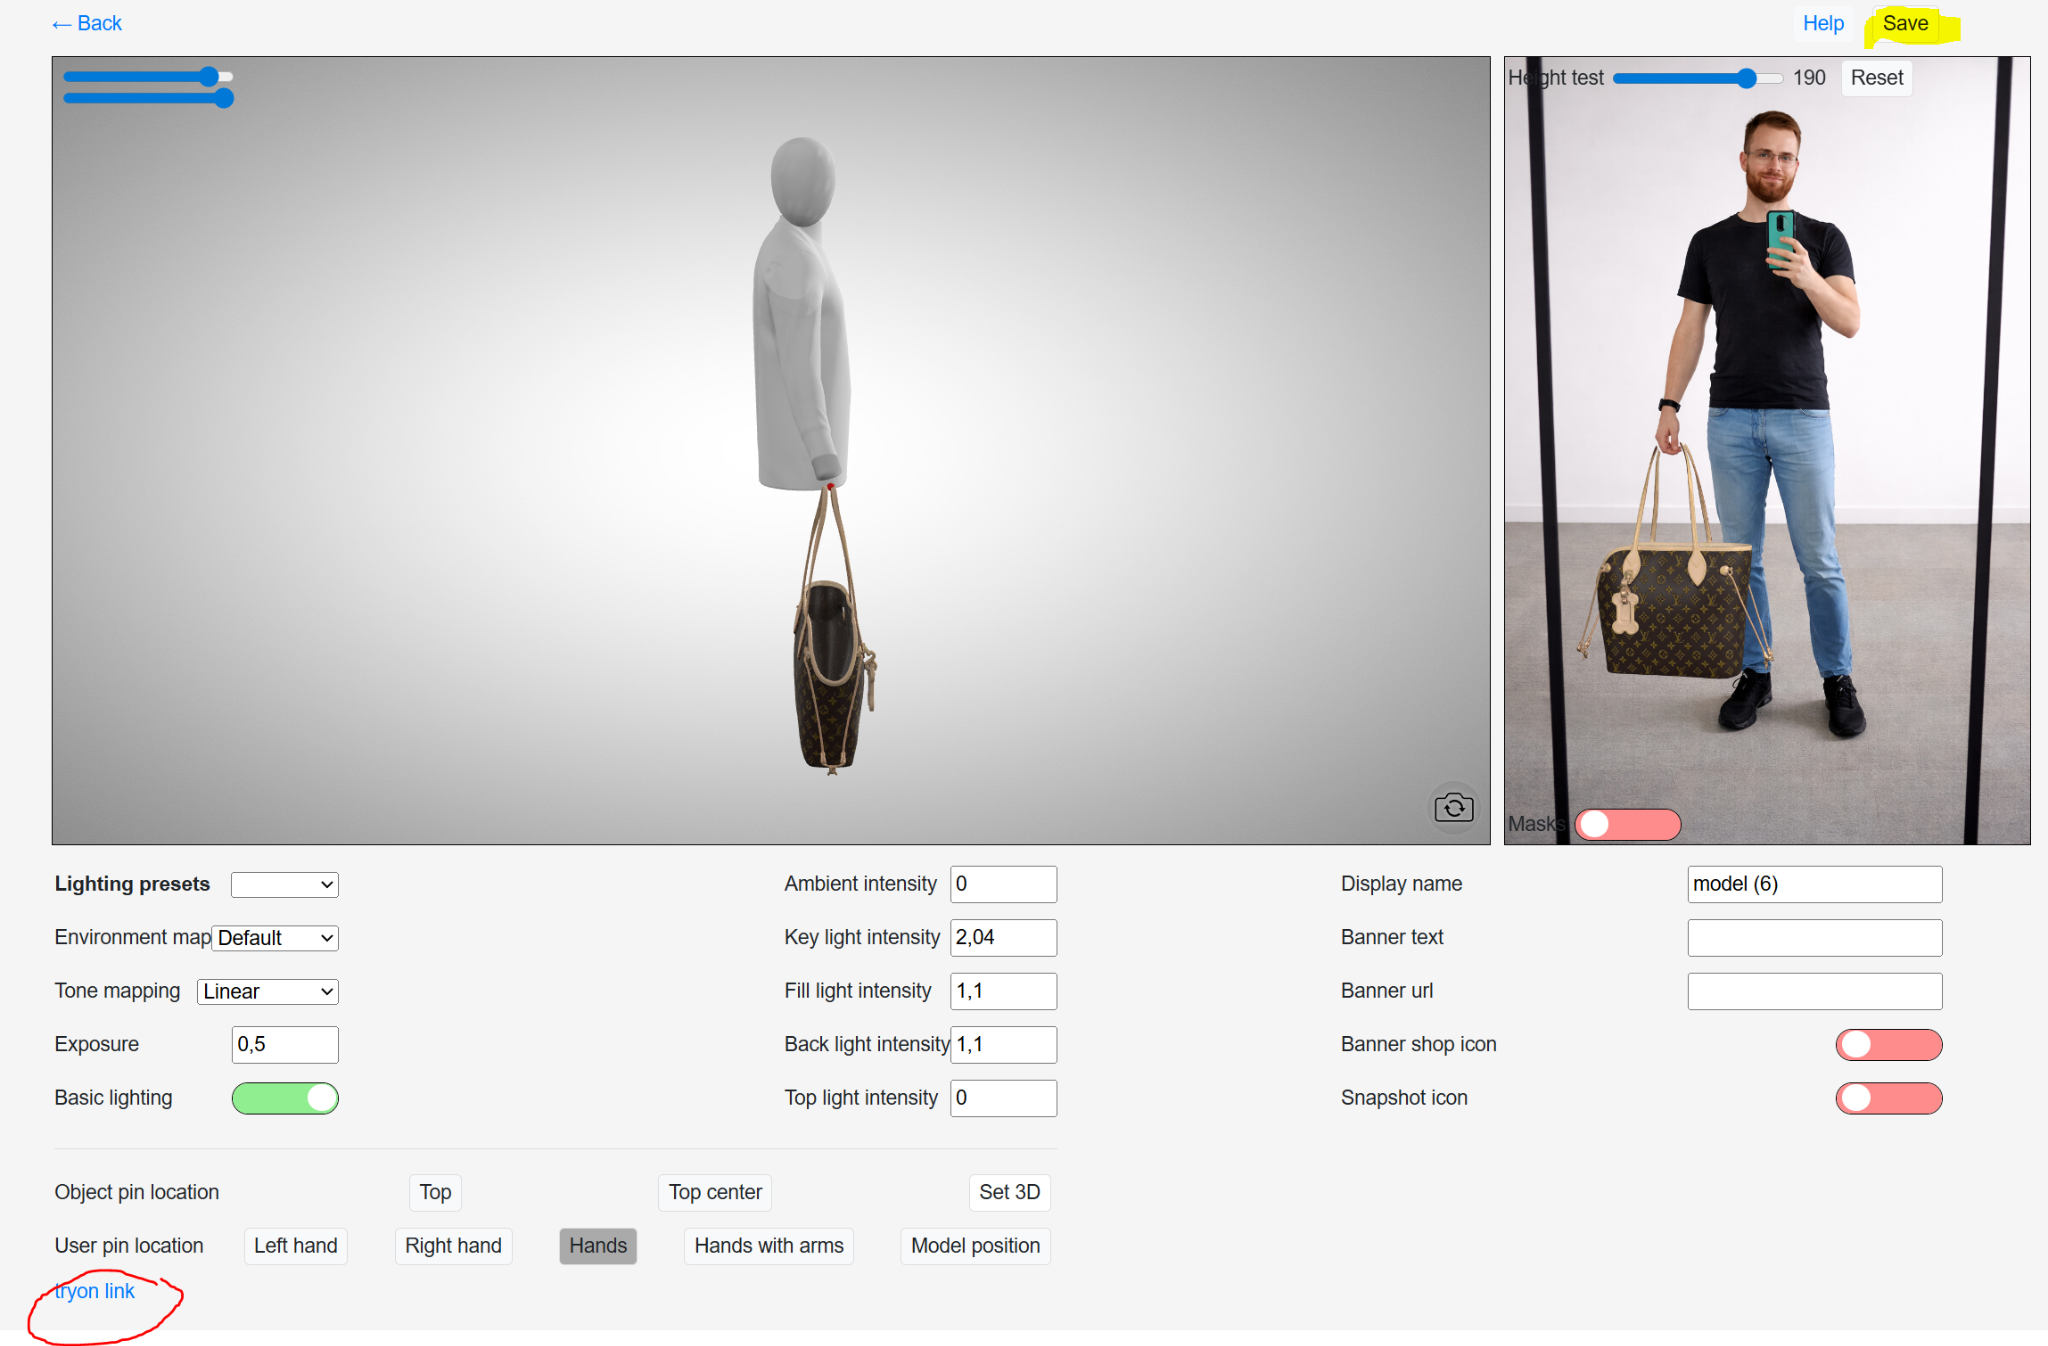
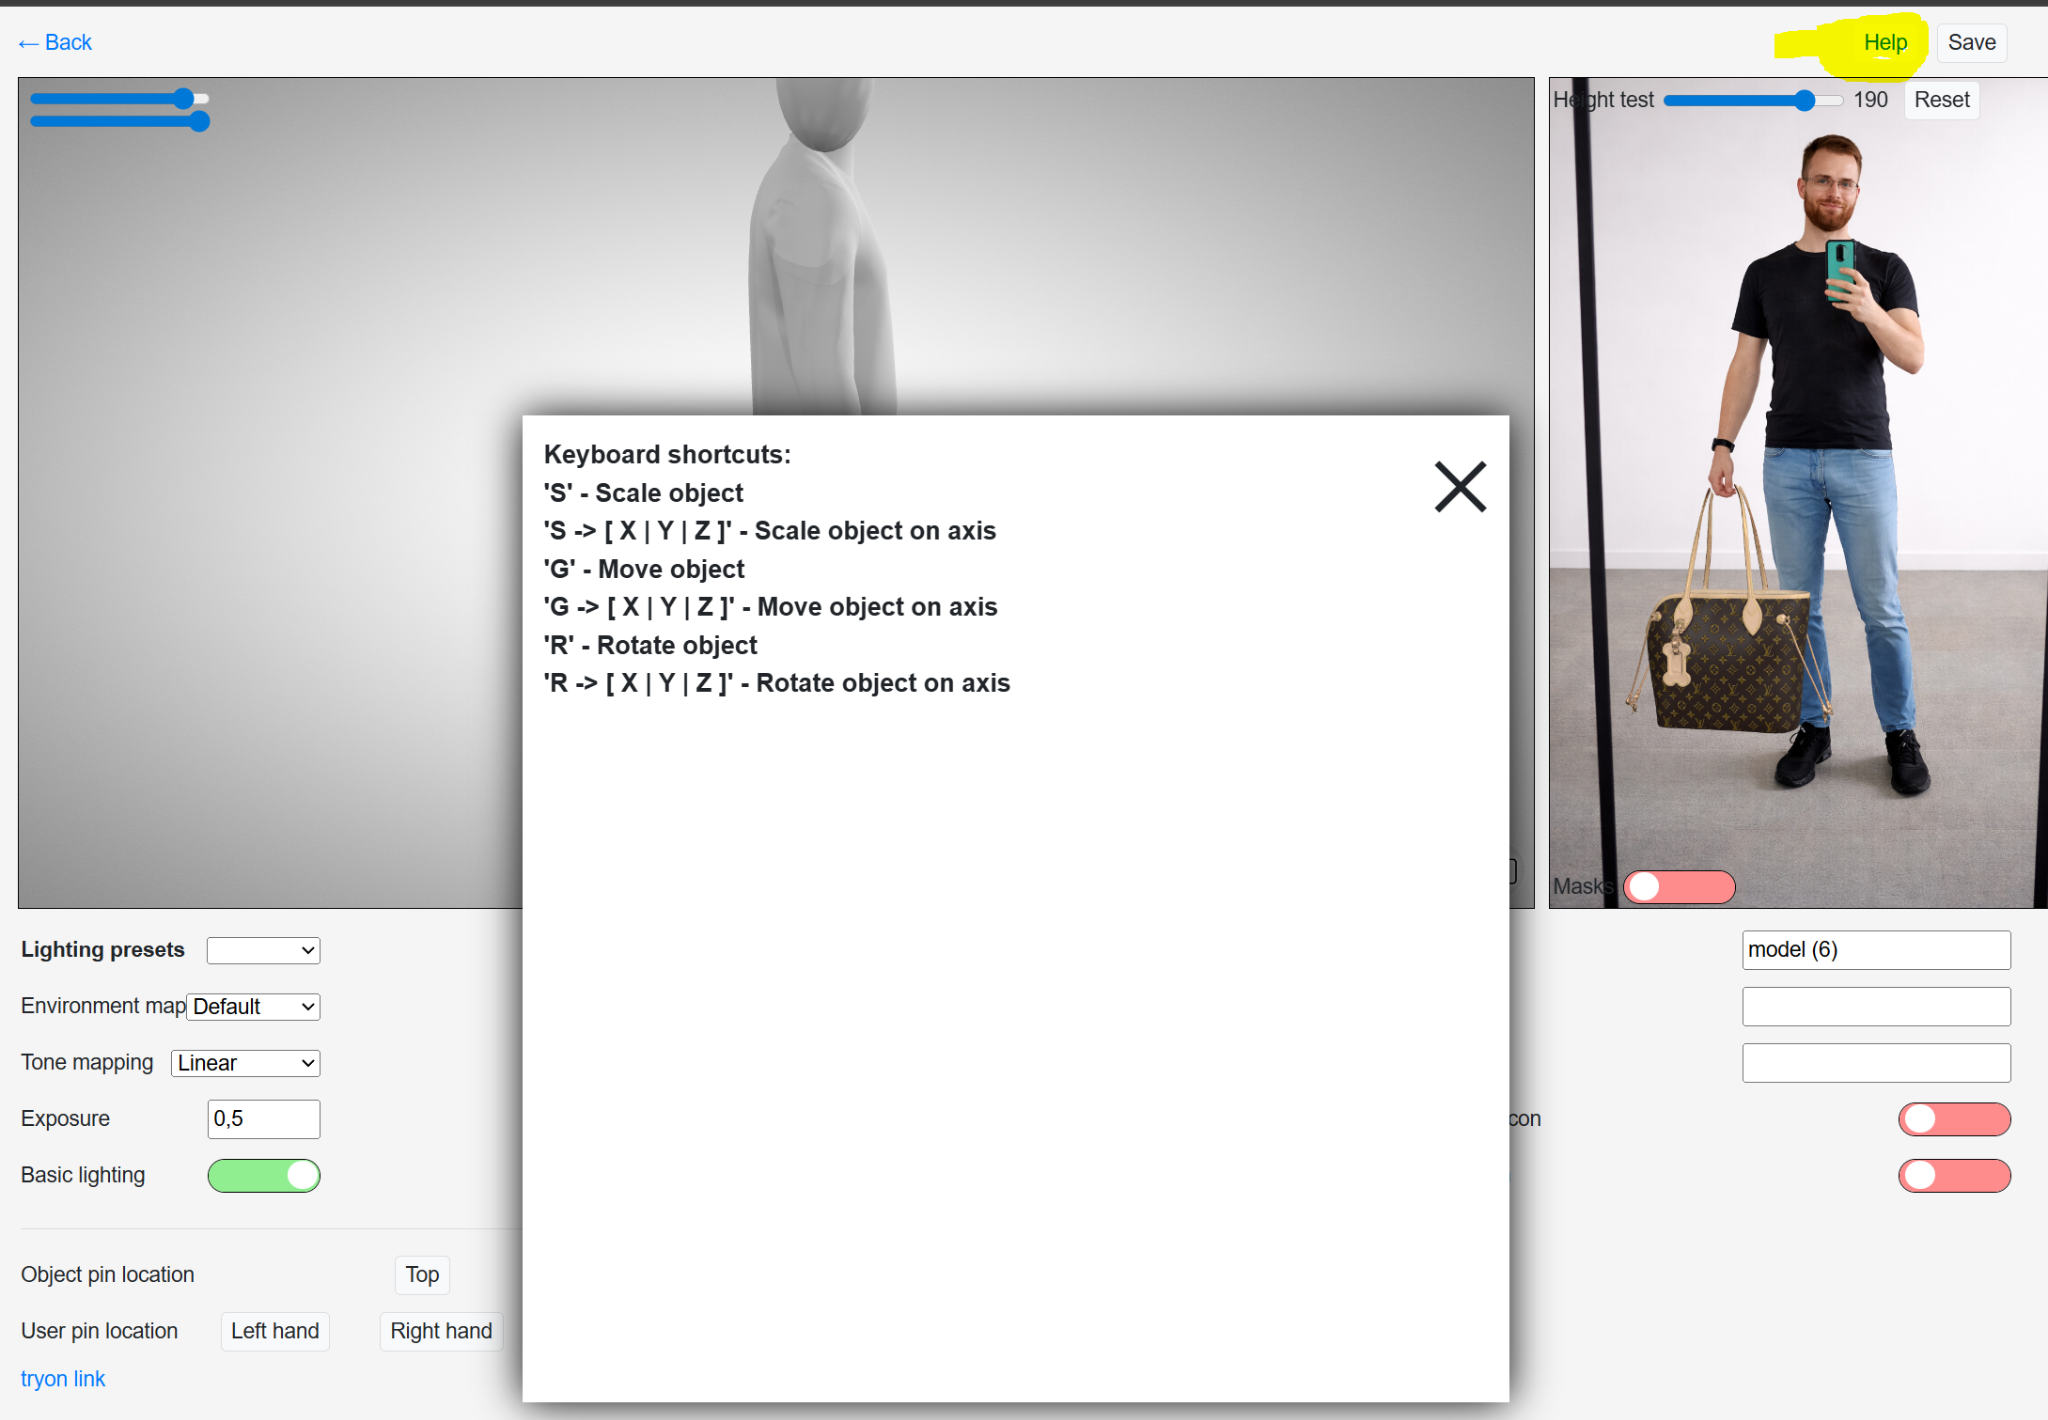
Adjust the bag position
Move, rotate, and scale the bag until it sits naturally next to the avatar’s hand. Use “Help” if you need the keyboard shortcuts.
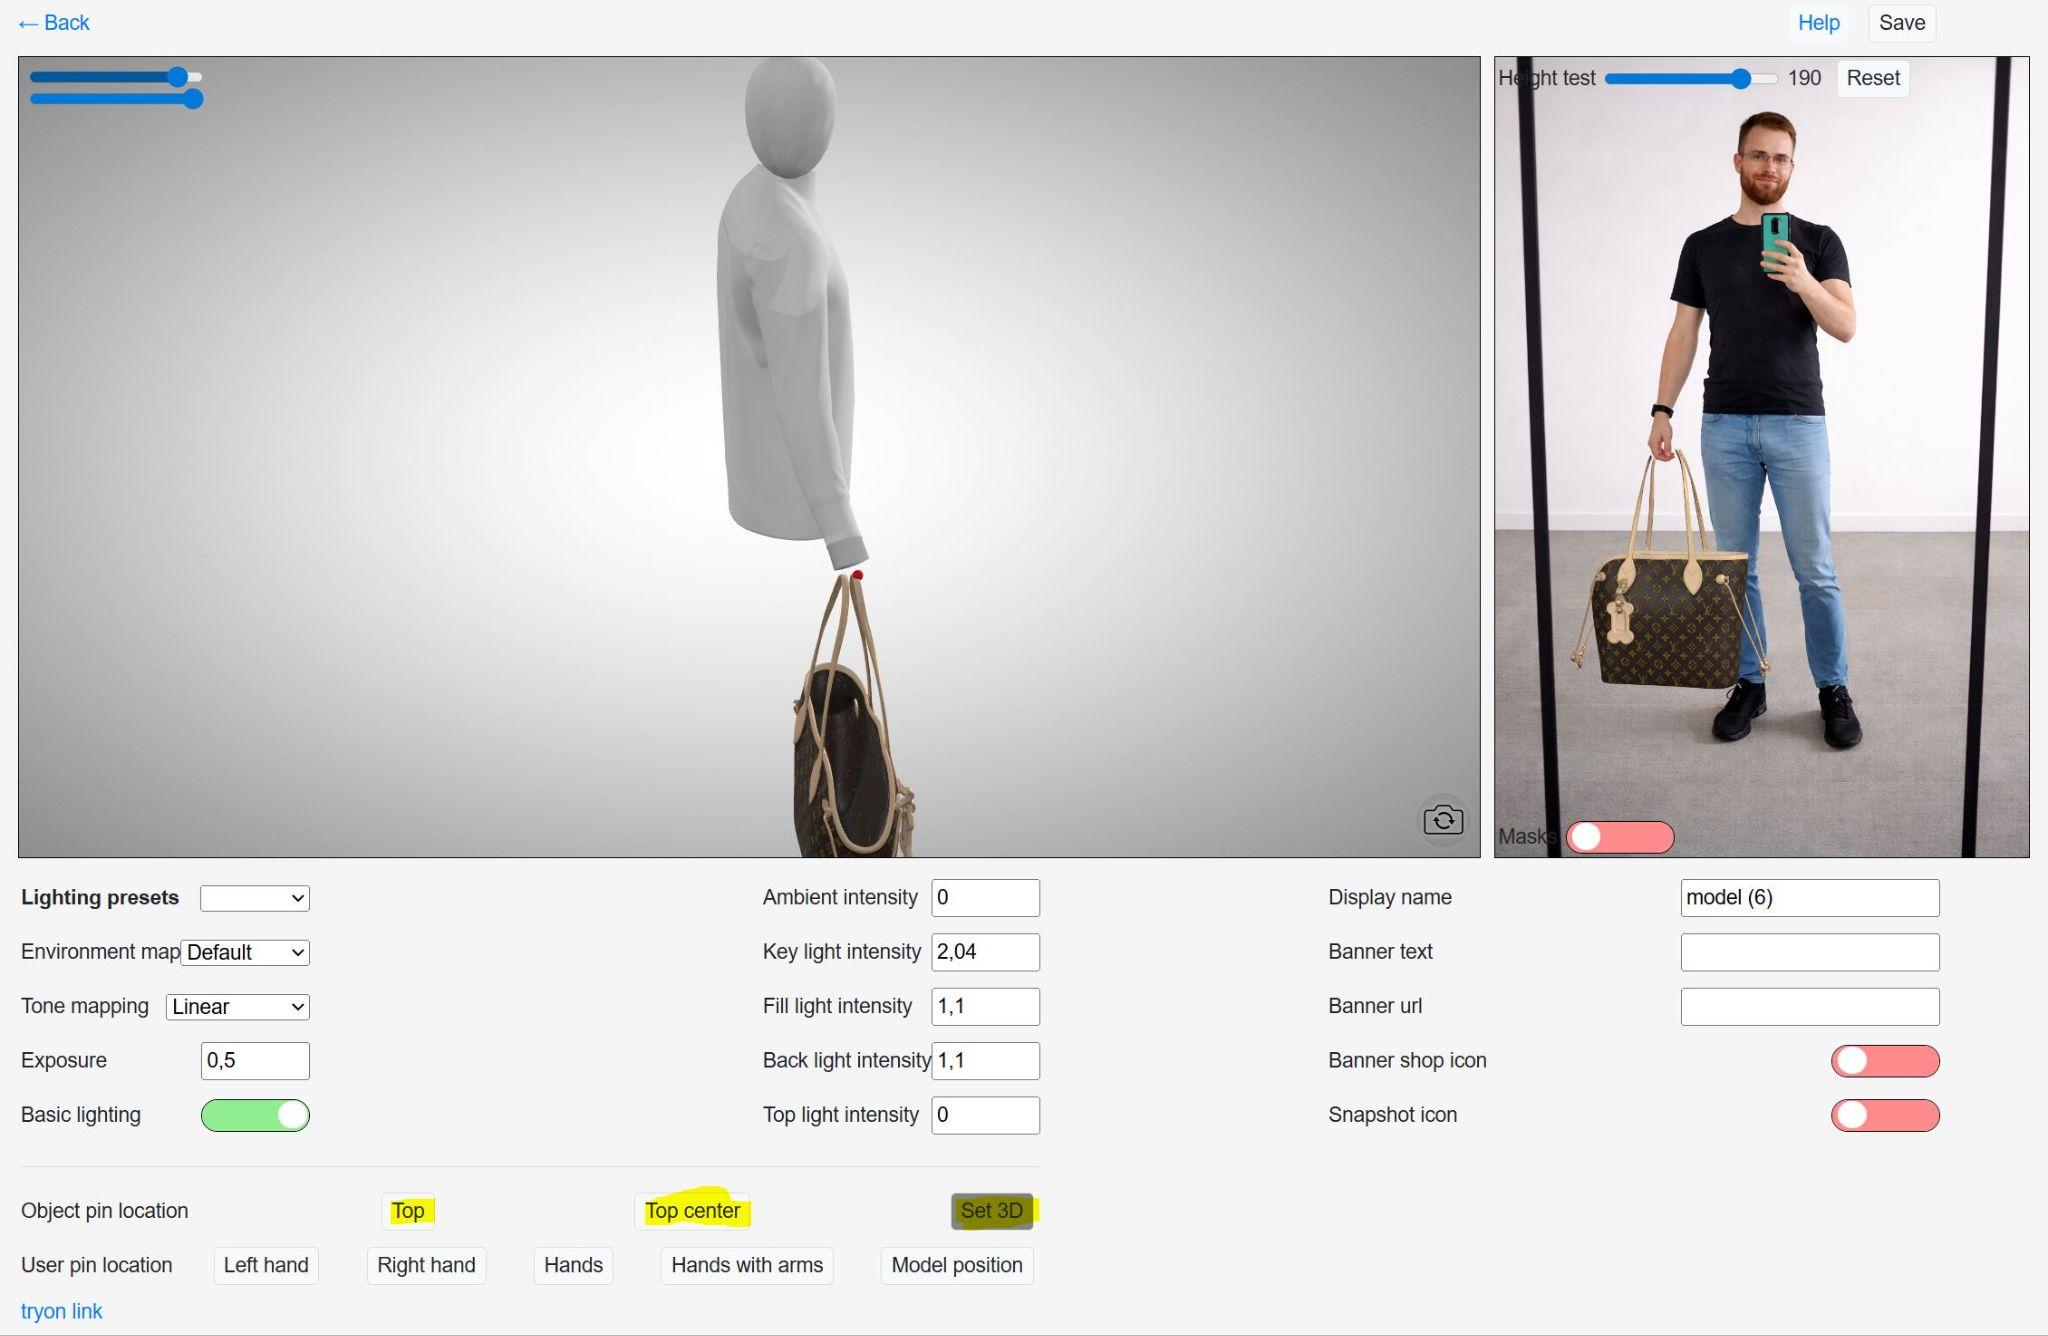
Choose the hold point
Test the highlighted hold-point options and keep the one that looks most natural in the final view.
Save and preview on mobile
Click “Save”, then open the “tryon link” at the bottom of the page to preview the final customer experience on a phone.