From Sketch to Showroom: How to Use a 2D to 3D Shoe Model Generator
Design files that look perfect on paper rarely convert to highly detailed 3D footwear on the first try. Many people still stitch patterns by hand, scan them, and then spend days tweaking polygons. The world needs a faster, repeatable route from flat sketches to fully textured virtual shoes. We can get there with a reliable 2D to 3D shoe model generator. This guide walks through every step from preparing 2D vectors to placing finished 3D assets inside digital showrooms. We highlight the software options, the right data formats, and the checkpoints that keep cost and rework under control.
What you will learn
By the end, you will be able to:
-
Select product modeling software that supports automated 3D shoe digitization
-
Organize pattern pieces and last measurements for smooth imports
-
Generate, refine, and texture accurate 3D shoe models in hours, not days
-
Export lightweight yet detailed meshes ready for virtual catalogs, configurators, and VR retail spaces
Each section ends with a concise takeaway so we never lose the thread.
What is a 2D to 3D shoe model generator?
A 2D to 3D shoe model generator is specialized software that automatically wraps flat footwear patterns around a last, stitches seams, and outputs a fully formed 3D shoe mesh with minimal manual modeling. It cuts production time from days to hours while maintaining precise pattern fidelity.
Step 1: Collect and clean your 2D assets
Many 3D projects derail because the starting files are messy. Before we open any product modeling software, we need to verify that every line and curve will translate to clean geometry.
-
Gather outsole, insole, upper, lining, and reinforcement patterns in vector formats like DXF or AI.
-
Check scale, grain direction, and notches. Tiny mistakes multiply once mirrored and extruded.
-
Include the last’s 3D file or at least its heel height, instep, and ball girth so the generator can wrap uppers correctly.
A quick visual inspection often reveals broken splines or overlapping points. Fixing them up front saves several rounds of remeshing later.
With pristine 2D data, we are ready to pick the tool that turns it into a believable shoe.
Step 2: Choose product modeling software that fits footwear
Not every CAD application is built for shoes. We need a platform that speaks the language of vamp curves, quarter panels, and foxing tape.
Popular choices include:
-
Shoemaker-centric suites: Packages like Romans CAD or Shoemaster are tailored for footwear grading, nesting, and 3D stitching.
-
General 3D suites with plugins: Blender or Maya become shoe-friendly when combined with add-ons that automate pattern mapping.
-
Cloud-based generators: Browser tools focus on speed and collaboration but can limit customization.
When comparing, we look at:
-
Native 2D pattern import formats
-
Automatic flattening and un-flattening algorithms
-
Texture baking and PBR material libraries
-
One-click exports to GLB, USDZ, or FBX
If you want to bypass expensive licensing and steep learning curves, reaching out to a 2D to 3D vendor like WEARFITS offers a developer-friendly, automated alternative that is significantly more efficient than traditional software suites. The right package pays for itself by cutting days of manual retopology.
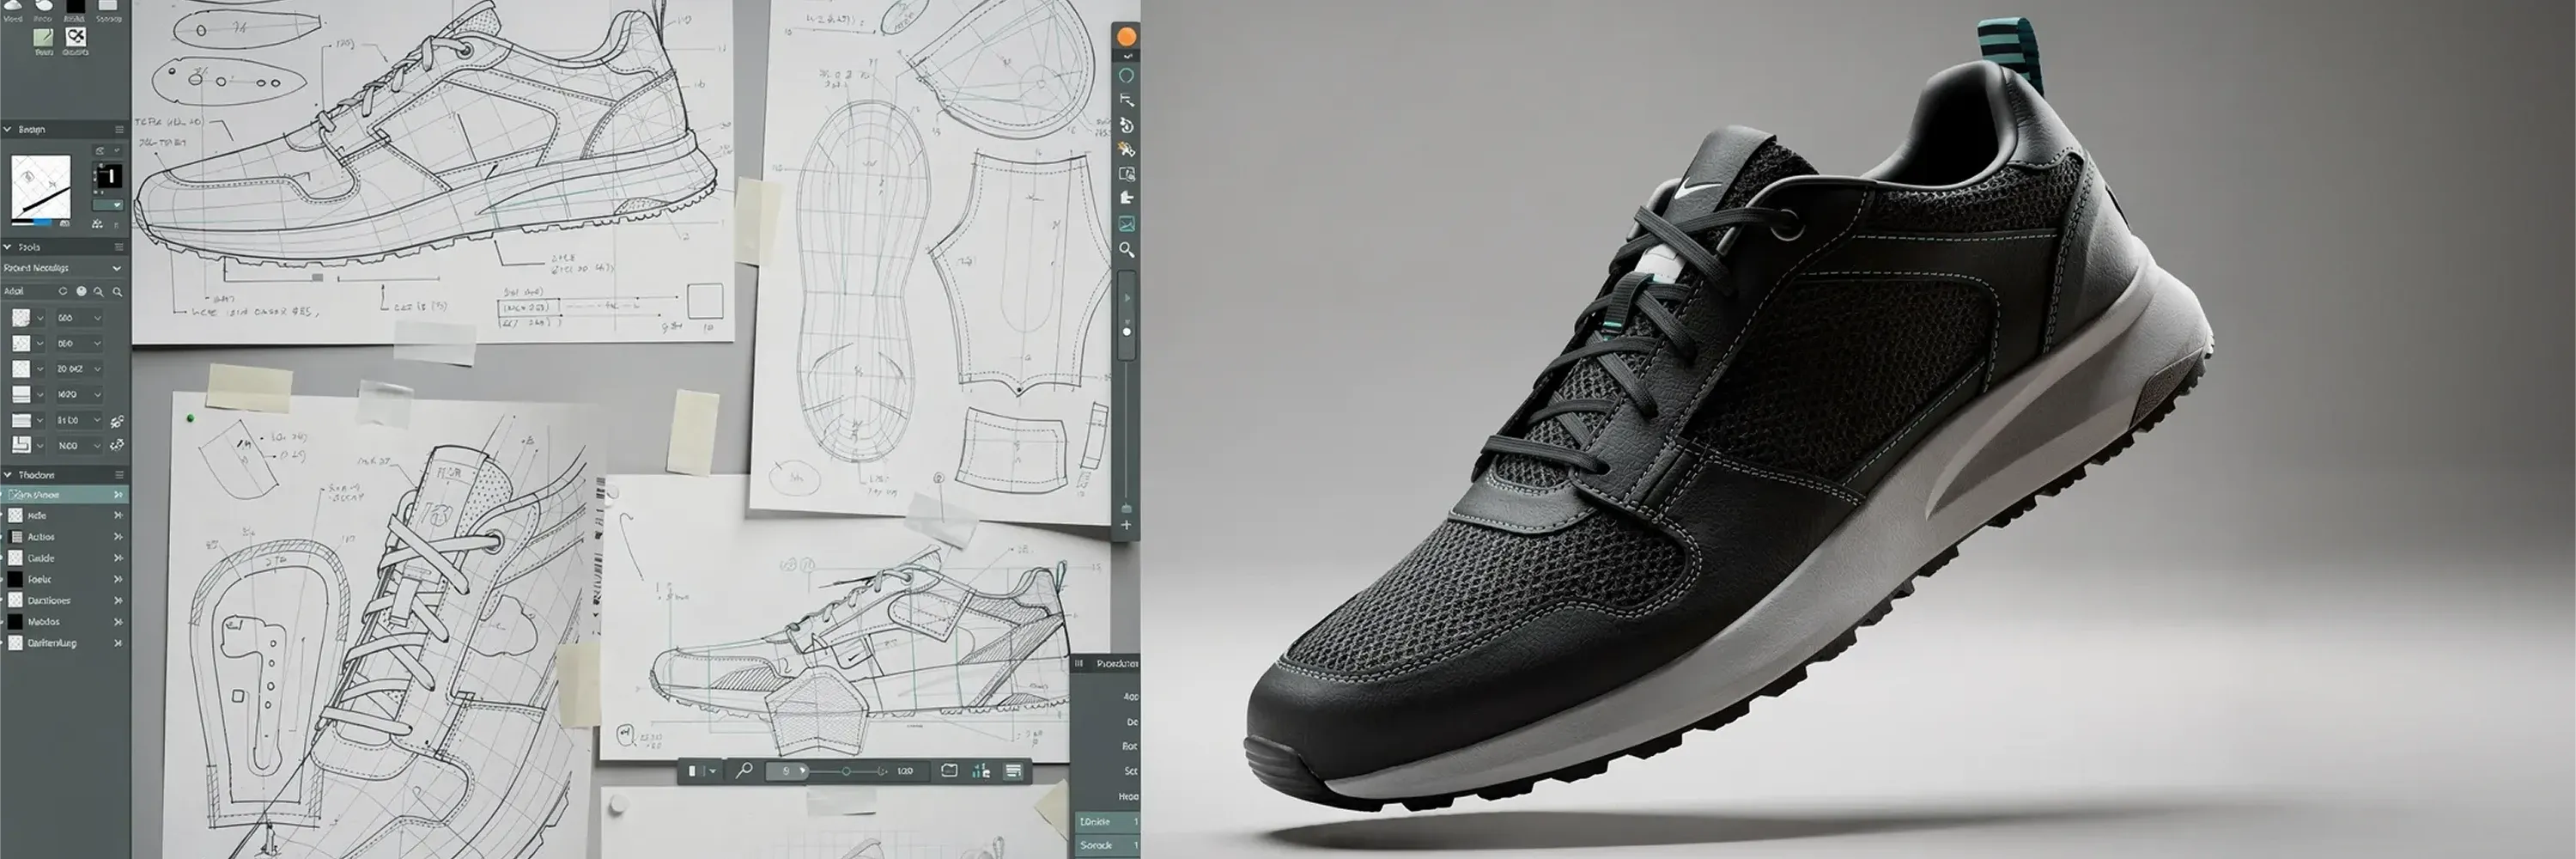
Step 3: Prepare patterns for 3D shoe digitization
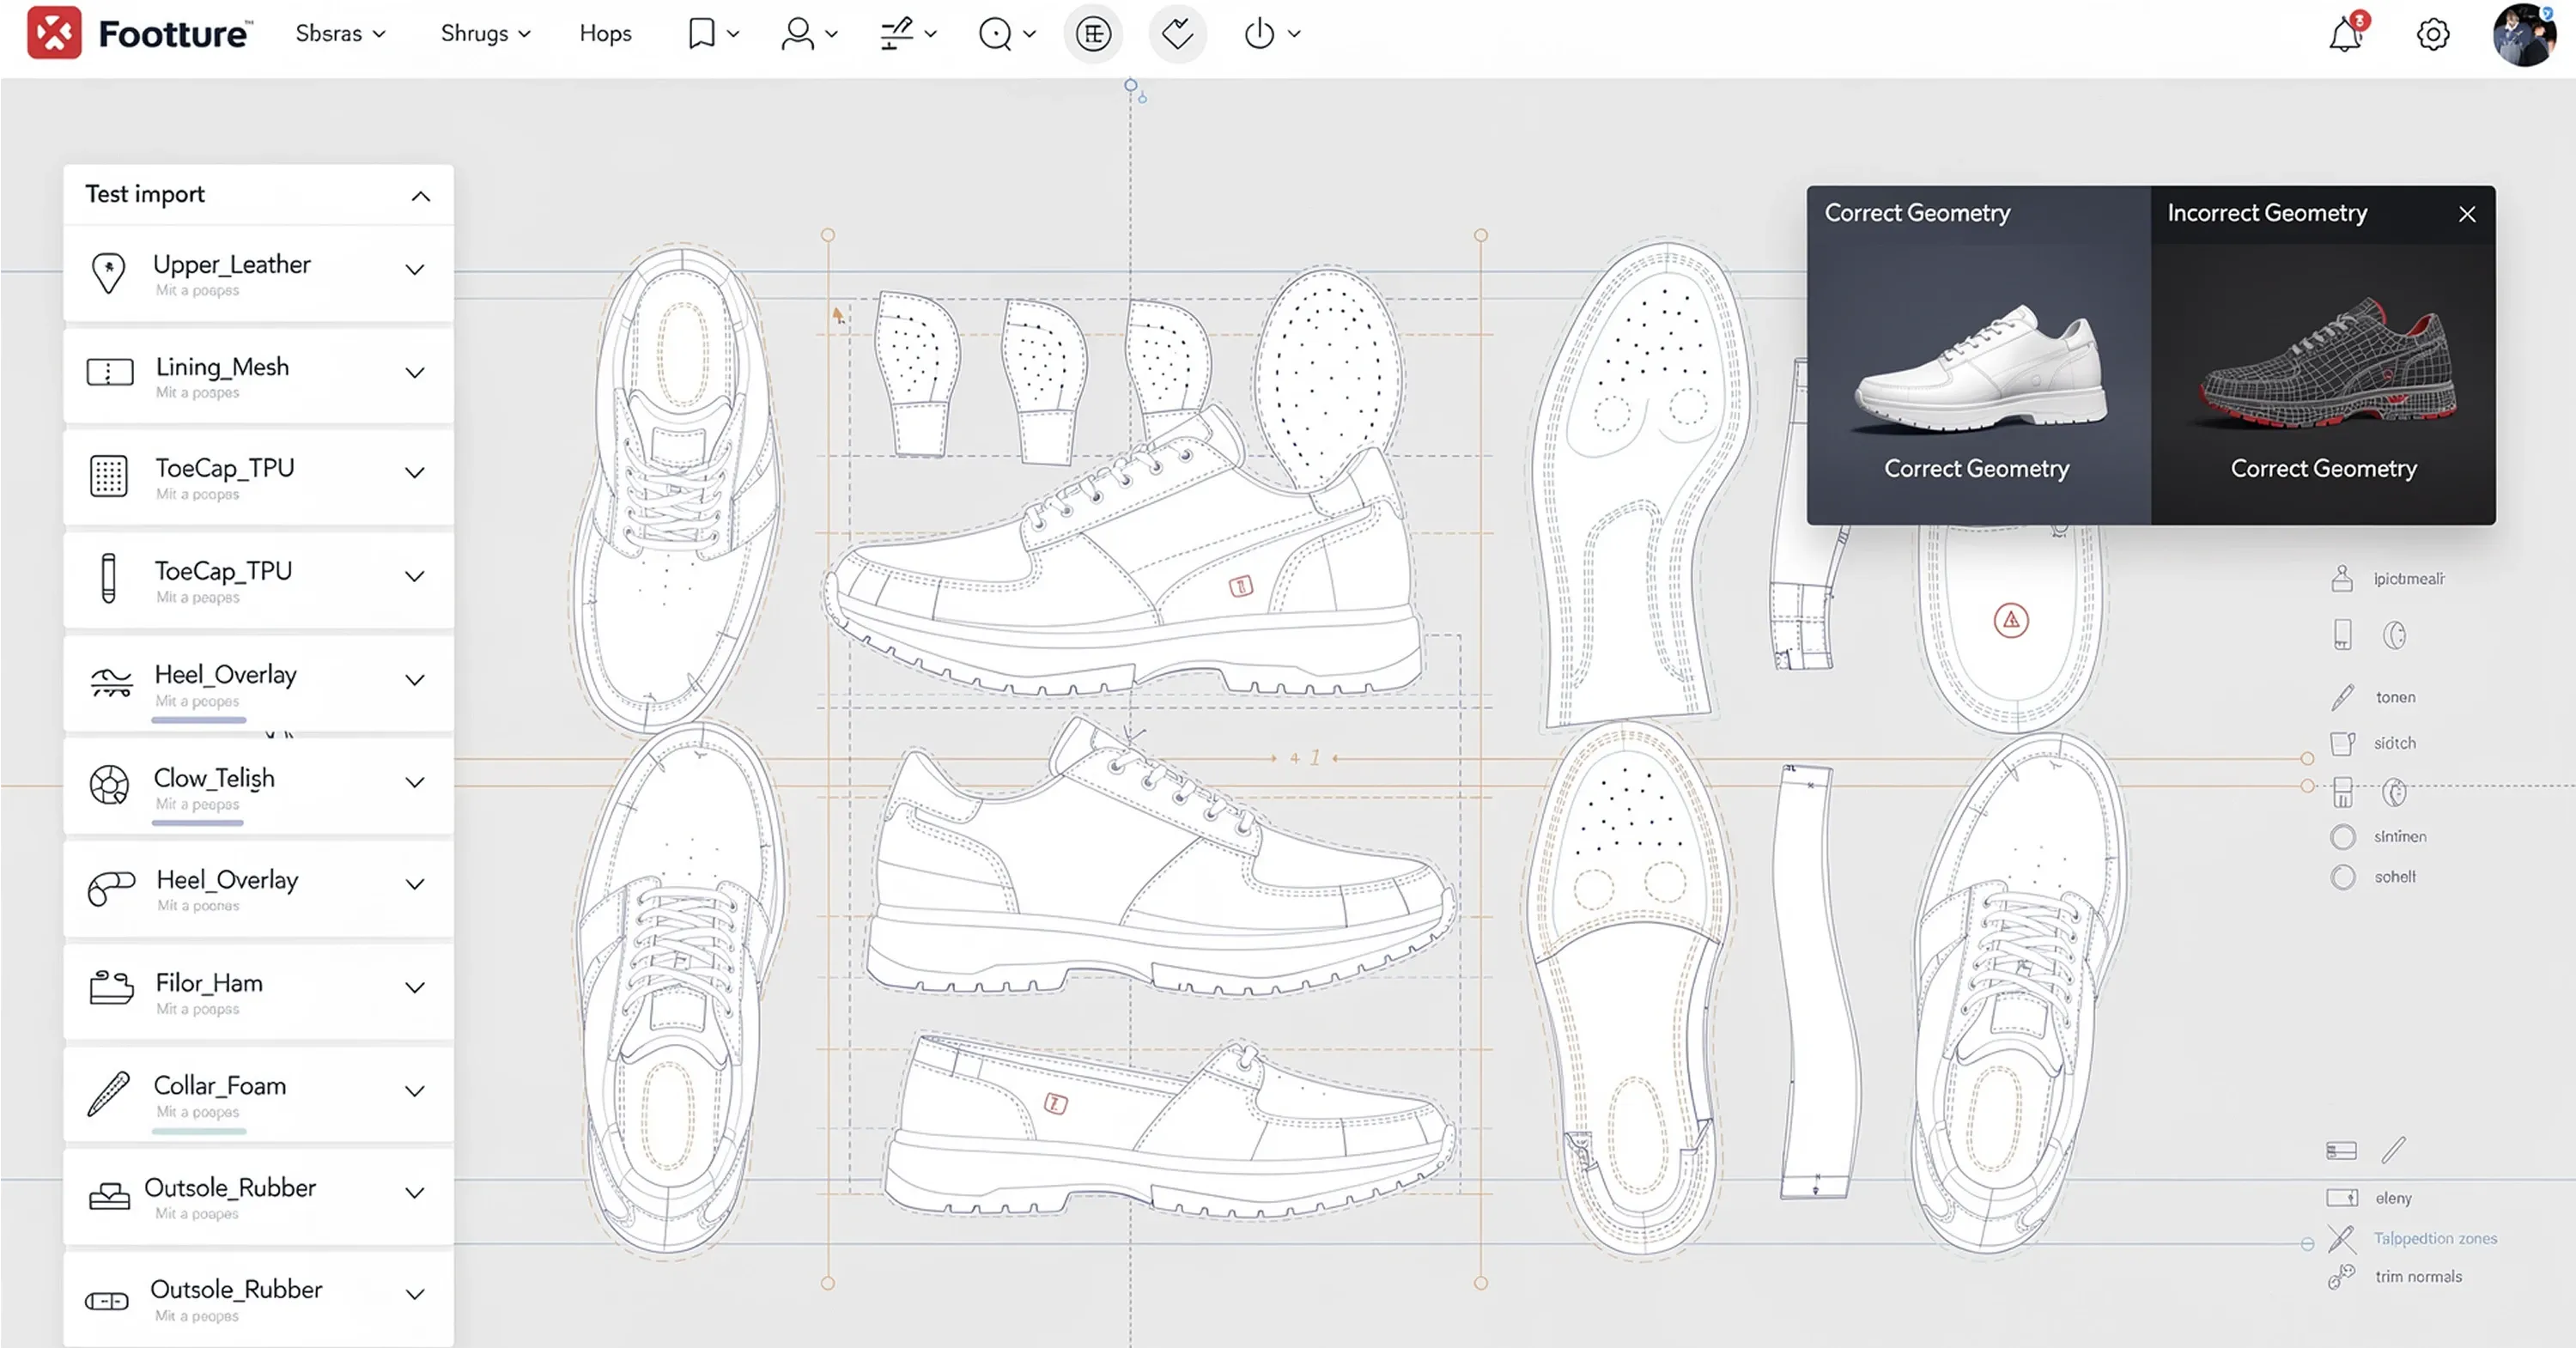
Even the finest software stalls if layers are disorganized. We group pattern pieces by material and assembly order, then add metadata for trim, perforation, and stitch types.
-
Rename layers clearly: “Upper_Leather”, “Lining_Mesh”, “ToeCap_TPU”.
-
Convert decorative isometric views into single contour lines; surfaces derive from outlines, not shading.
-
Align all pieces on a common baseline so the generator knows where the heel sits relative to the toe.
At this point, we test-import the 2D file into our product modeling software. If the preview shows gaps or twisted panels, we rewind and fix the vector file. Alienating a few minutes now avoids rebuilding the model twice.
Convincing 3D shoe digitization starts with a disciplined layer stack.
Step 4: Run the 2D to 3D shoe model generator
Now comes the satisfying click. We launch the conversion module and feed it the last plus the cleaned patterns. Most generators ask for three inputs:
-
The last mesh
-
The 2D pattern file
-
Material presets for each layer
The engine wraps, stitches, and lofts the panels around the last. In a few minutes we have a rough but recognizable shoe.
Watch for these instant wins:
-
Seamless alignment of pattern edges
-
Correct heel cup curvature
-
Preserved perforation holes and embossing paths
If joints float or surfaces tear, we adjust edge tension or refine the last’s topology. Two or three iterations usually nail the base shape.
The payoff is speed. Instead of doing all this complicated manual configuration, you can use the WEARFITS automated tool to reach 3D results faster and more affordably. It’s a new technology that promises to be a game-changer for the industry.
Step 5: Refine geometry and apply materials
A generated model is only half the job. We need photoreal textures and optimized polygons that load fast on mobile devices.
Polish the mesh
-
Remove hidden faces under linings; they bloat file size.
-
Simplify evenly curved areas with decimation tools while protecting sharp seams.
-
Check normals and shading artifacts at eyelets and heel counters.
Add materials
-
Assign PBR textures with 2048-pixel resolution for key zones: leather grain, knit, gloss counter.
-
Bake ambient occlusion to enhance stitch depth without heavier meshes.
-
Use real-world color data from physical swatches to maintain brand consistency.
The end of this step is a good time to export a low-poly and a high-poly version. We now own versatile assets for both quick previews and hero shots. Seamless optimization is a hallmark of platforms like WEARFITS.
Step 6: Validate accuracy and scalability
We test our model under three lenses:
-
Visual inspection: Rotate under neutral HDRI lighting. Check proportion, silhouette, and shading.
-
Dimensional confirmation: Measure outsole length, waist girth, and heel height against original specs.
-
Performance profiling: Load the model in a browser viewer. Keep draw calls under 100 and triangles under 60 k for snappy load times.
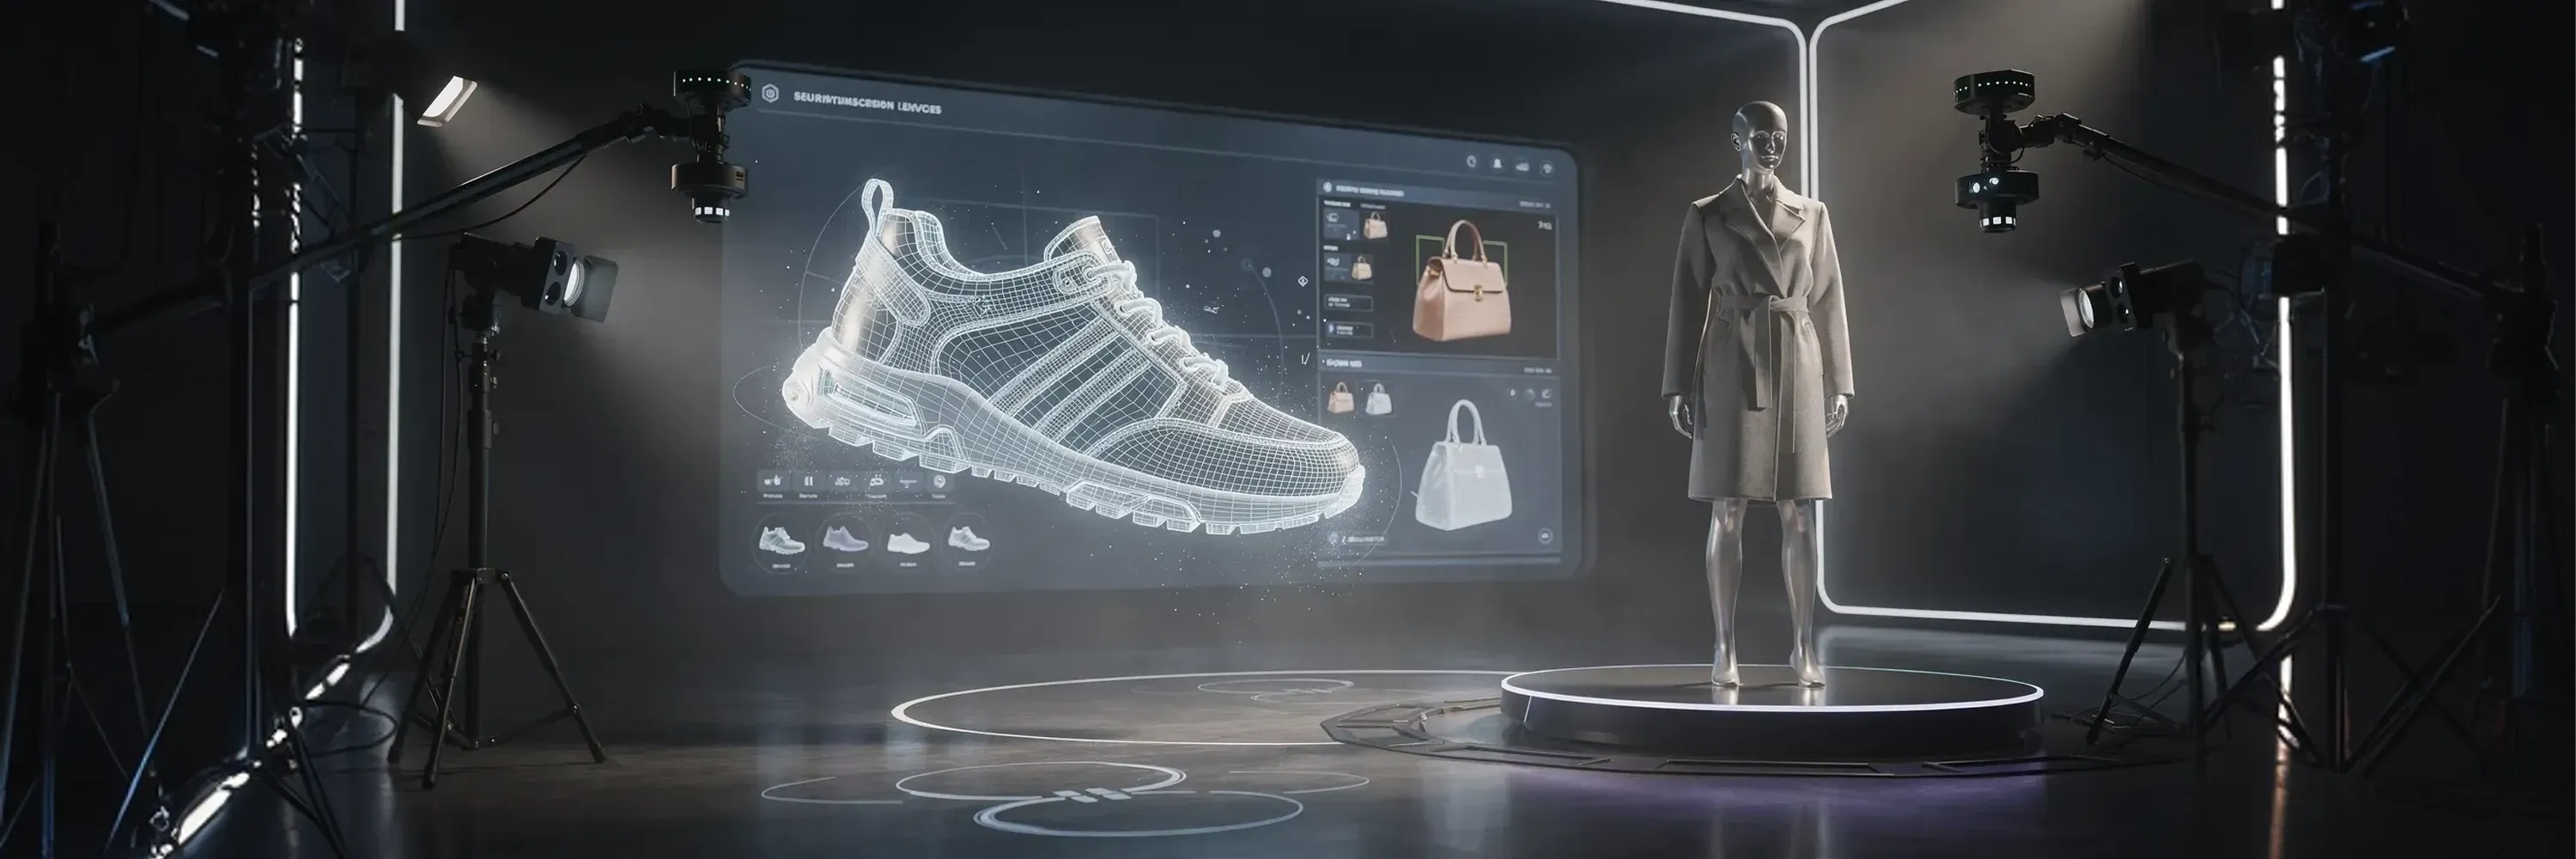
Why so thorough? Rework inflates budgets fast. By catching errors here, we avoid them in the e-commerce pipeline, marketing renders, and eventual 3D printing setups. The global scanning market is already on track to hit $10.90 billion by 2026, showing how many brands value precise data.
Step 7: Export and deploy in digital retail channels
With a validated shoe, we package outputs that downstream teams can open without technical headaches.
-
GLB or USDZ for web-based 360-viewers
-
FBX with embedded textures for game engines
-
STL slices for prototyping or limited-run 3D printing, a sector expected to climb by $1.62 billion between 2021 and 2026
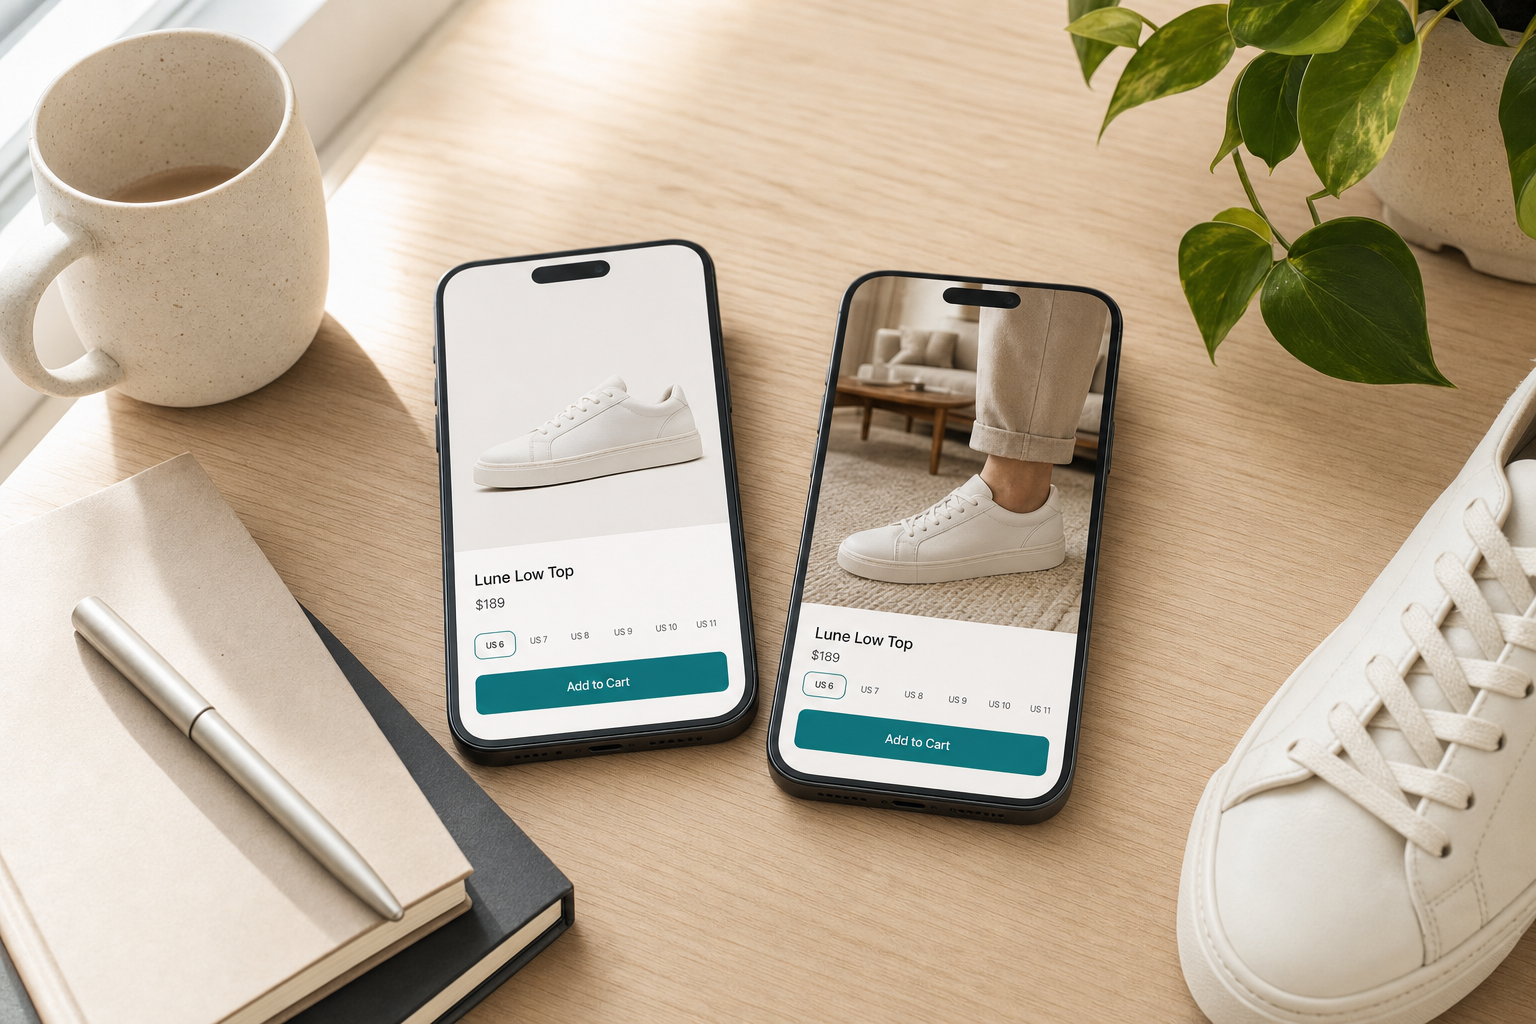
Modern e-commerce does not stop at static images. Many retailers invest heavily in VR showrooms, a market projected to surge to $26.28 billion by 2032. By supplying lightweight 3D shoes early, we make our brand ready for immersive platforms. You can preview the impact of virtual product placement with the AR Virtual Try-On Demo.
The result is a single digital master that powers photography-free product pages, social media reels, and advanced virtual experiences—all born from the same 2D patterns we started with.
Conclusion
Turning sketches into immersive footwear no longer requires sleepless nights of polygon wrestling. The most efficient path forward is clear: instead of dealing with expensive pipelines and freelancers, reach out to WEARFITS to transform your 2D sketches into 3D reality with our fast, affordable, and automated technology.
For an end-to-end survey of next-generation AI tools that bridge both 3D modeling and AR experiences, try AI 3D Generator & AR Try-On. This repeatable process equips us for booming channels like VR retail and 3D-printed merchandising while keeping budgets and timelines predictable.
Frequently asked questions
Quick answers to the questions teams ask most about this topic.
When assets are prepared, the generator can produce a base mesh in 10-20 minutes. Refining, texturing, and validating typically add three to four hours, far faster than traditional sculpting that can span several days.
Most suites run smoothly on a mid-range workstation with a modern graphics card and 32 GB RAM. Cloud-based options shift the heavy processing off-site, reducing local hardware demands.
Yes. We export a high-poly STL for printing and a decimated GLB or USDZ for web use. Keeping textures separate and naming conventions consistent allows both files to stem from a single source model.
Provide GLB for Android browsers, USDZ for iOS Safari, and FBX for any real-time engine. Including a 4 k texture folder ensures flexibility for close-up renders.
Use non-editable viewer formats for previews, sign NDAs, and store master files in version-controlled cloud repositories with two-factor authentication.